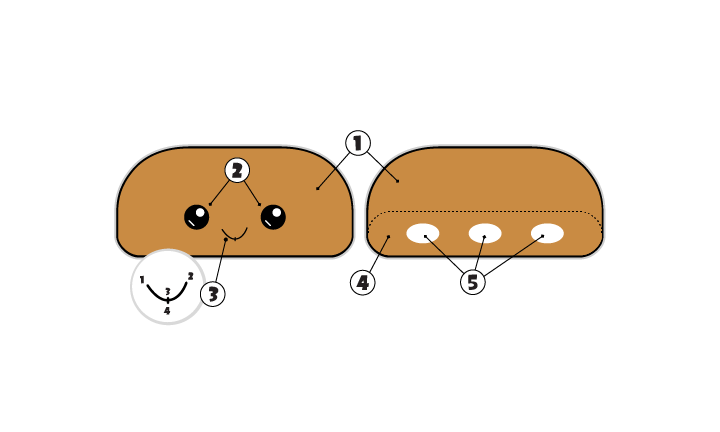
Felt Craft Twinkie Snack Cake
Finished Size: Approximately 3 inches (7.6cm) wide.Felt & Embroidery Floss (6-strand): Gold, Black, White.
Other Supplies: Embroidery needle, scissors, stuffing, double-sided clear tape (Optional; Use on back of pattern to secure to felt), glue (Optional; Use to secure pieces before stitching.)
Before you begin...
Cut pieces only as needed. Separate and use one (1) strand of matching embroidery floss to attach pieces unless otherwise specified.Applique/Whipstitch
Begin by bringing the thread up around the edge of the felt (1) and back down through (2). Repeat as needed. Space stitches about 1/8 inch apart and make about 1/8 inch long.
Straight Stitch
You'll use one (1) strand from the embroidery floss. Bring your thread up through 1 and down through 2. Repeat as needed to complete the stitches.
French Knot
You'll use three (3) strands from the embroidery floss. Bring your thread up through the felt as shown. Wrap the thread around the needle twice, hold tight and bring needle through the felt as close to the middle as possible.
Twinkie Snack Cake
1. Cut two (2) Body, GOLD.2. Cut one (1) Bottom from GOLD felt.
3a. Cut three (3) Creme from White.
3b. Appliqué each Creme to Body (Back).
3c. Appliqué Bottom to Body (Back).


Follow Us